Machine Learning using Julia
One may need to have jupyter notebook through anaconda framework or otherwise for working on data science project using Julia. VS Code is another IDE which may be used for scripting with Julia. The installations and repositories for using Julia software are as below:
Installation - Julia with Anaconda
Step 1: Download Anaconda
- Operating system specific version can be downloaded from this link.
Install the application once the download completes. More about anaconda can be found at this page. One may avoid the full installation of anaconda framework and can directly install Jupyter Notebook or Jupyter Lab. Follow the steps mentioned here to have Jupyter Notebook/Lab installed in your machine.
Step 2: Download Julia
- Download the OS specific version from this link.
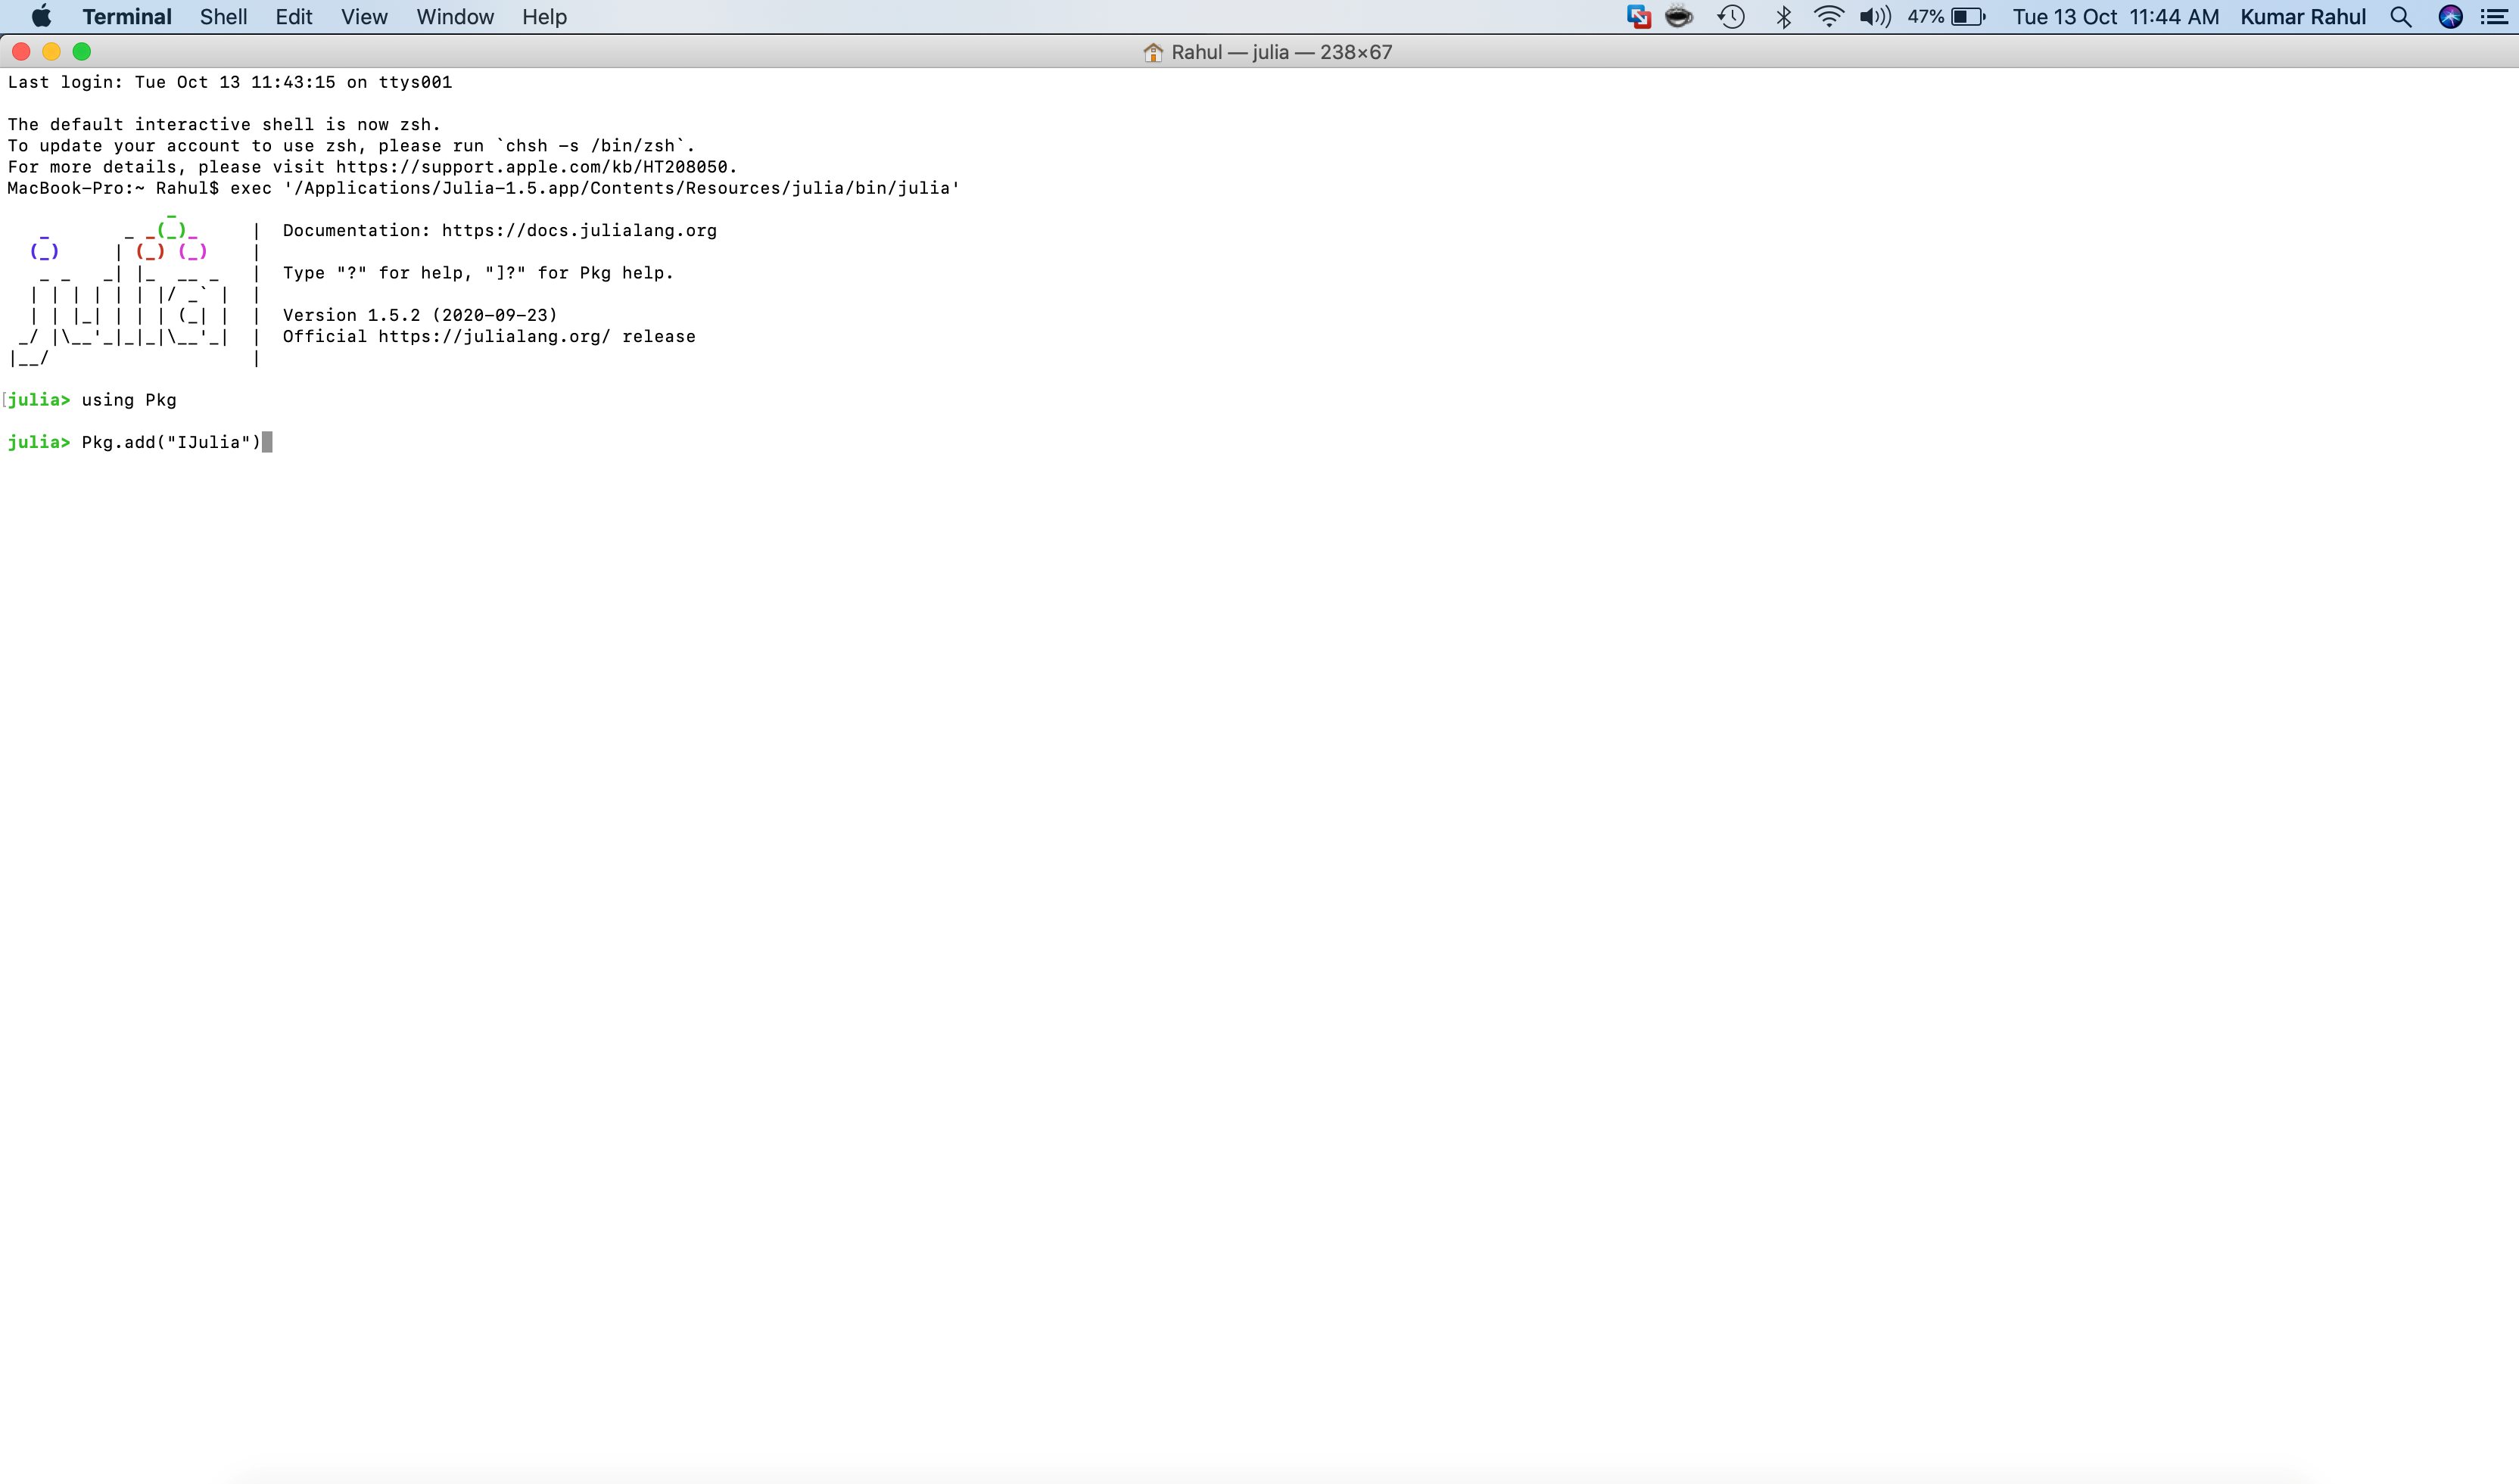
Install Julia after the download completes and open Julia command line/prompt. In MacOS you can open terminal and type ‘julia’ to open the julia command prompt.To add julia to Jupyter Notebook, type the following on julia prompt:
> using Pkg
> Pkg.add(“IJulia”)

Let the installation finish and you are ready to work with Julia!!! Launch Jupyter Notebook and open the Julia Kernel. Platform specific issues can be accessed from here. Julia packages can be found at this link.
Optional: To start Julia from the mac terminal:
    > cd /usr/local/bin
    > rm julia
    > sudo ln -s /Applications/Julia-[short_version_number(say 1.5)].app/Contents/Resources/julia/bin/julia /usr/local/bin/julia
One is expected to resolve installation issues of the software, if any. You may google about the installation issues and resolution may follow.
Installation - Julia with VS Code
VS Code is another IDE which may be used to work with Julia. Follow the steps mentioned here to work on Julia using VS Code.
Repository
Here is the link to download the repository for ML using Julia.
Tutorial
Here is a link to tutorial on Julia. The link also has other useful references.
- Here is the link to tutorials in Julia.
